Last year I shared the celebration procedures for most of the important Hindu festivals to help beginners and to keep a record for my future reference.But I couldn’t make a post about our first festival, Aadi perukku celebration procedures in a detailed manner.So this year I wanted to share it with my last year’s celebration pictures. As you all know, Aadi perukku also known as Pathinettam perukku is a unique South Indian festival that marks the beginning of Tamil festivals. It is observed on the 18th day of Tamil month Aadi.This year 2016, it falls on August 2nd i.e tomorrow. I have shared the significance of Aadi 18, What to do on Aadi 18, its rituals and how to celebrate this festival, Aadi 18 prasadam/Neivedyam recipes links in detail. Please go through them and have a happy aadi 18 celebration. Hope beginners would find this post useful.
Wish you all a very happy Aadi 18![Happy]() .
.

SIGNIFICANCE OF AADI 18
Aadi 18/ Perukku, as the name indicates, is a festival observed on the 18th day in Tamil month Aadi. It is also known as Pathinettam perukku and ‘perukku’ means ‘rising.’.The rising here indicates the overflowing of rivers like Kaveri due to the monsoon rains. It is celebrated near river basins, water tanks, lakes and wells of Tamil Nadu.This festival is essentially celebrated by farmers and other people who depend on the rivers and monsoon rains for their livelihood.Special prayers and pujas are done in temples and people pray Mother Kavery and Rain God Varuna Bhagavan for a good harvest, constant supply of water and hassle free monsoon.
On this day, all family members make a trip to the riverbank and prepare a special lamp using rice flour and jaggery (maavilakku), which is placed on mango leaves and lit. Flowers, turmeric and a yellow thread are also placed on the mango leaves. Women float the lamps along with the mango leaves and other accompaniments in the river. People prepare several varieties of rice( Chitranna)on this day and family members are joined by relatives and friends. Family members go on a picnic to riverbanks along with the food prepared. The riverbank or seashore picnic is a major event in some districts in Tamil Nadu on this day.
In some regions in Tamil Nadu, newly married couple is invited to home and son-in-law is given gifts on the day. Usually during Aadi month, the newly wed brides spend the month at her parent’s home and on Aadi Perukku, a gold coin is added to the thali or mangalsutra in some southern districts of the state.
Source :
http://www.hindu-blog.com/2008/07/aadi-18-perukku-in-2008.htmlPOOJA REQUIREMENTS
- Flowers
- Turmeric, Kumkum
- Thread greased with turmeric powder( Yellow rope/Manjal kayiru)
- Raw Rice & Jaggery
- Coconut,betel leaves & nuts
- Banana & Locally available Fruits
- Blouse bit, new dress(Saree or any girls dress)
- 1 Mirror
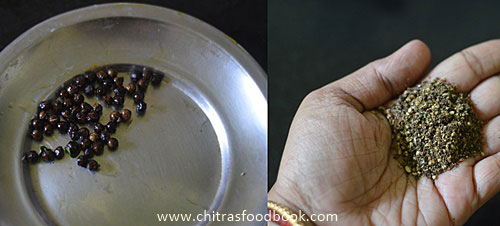
- Bangles, gold jewels, Kaatholai Karugamani ( Small black bangle, refer the above pic)
- 1 Lemon
- Banana leaf for keeping neivedyam
- Other pooja items like oil,ghee,camphor,incense stick and sambrani/Dhoop.
- Ingredients for making Rice varieties like Ellu sadam, Tamarind rice, Sweet Pongal, Curd rice, coconut rice & Sundal.
Check out my in-laws blog
“Learn Kolam”for kolam ideas.
OUR CELEBRATIONUsually Aadi 18 is celebrated in River banks or near water bodies.So my MIL celebrates this festival near water tank in Salem house by drawing a square shaped box with sand( We call it as “Manal veedu”). Make small Pillayar with sand, keep all the Pooja items in front of Pillayar and do the neivedyam. Refer the picture shared below from my in-laws blog "
Learn Kolam". Then she drops the flowers, lemon, turmeric into the water tank.But I celebrate in my apartment in a simple manner as suggested by my MIL.
HOW TO CELEBRATEThe previous day to the festival, wash all the lamps. Keep turmeric, Kumkum dots, put oil, threads and keep the lamps ready.Clean the house. Wipe the doors, windows clean and keep turmeric, kumkum dots. Prepare Pulikachal/Puliogare paste, Ellu podi, coconut rice mix. Draw Rangoli/Kolam at night. Draw with rice flour paste/ Arisi Maakolam or rangoli powder/Kolam maavu. Check out my in-laws blog
“Learn Kolam”for kolam ideas.
The next day early morning around 5 am, take bath and get things ready for doing pooja. We should do the neivedyam before 6am or at least before 7am.Decorate the pooja room with flowers. For morning pooja, make 2 manjal pillayar( One as Lord Ganesh and other one as Amman) and place it in a wooden plank, light two lamps on the sides. Keep this setup in front or inside your pooja room.To make manjal pillayar, take 1 tbsp of turmeric powder, add little water and make 2 small cones. Keep a kumkum dot. In front of the manjal pillayar, place coconut, betel leaves, betel nuts, all fruits, flowers, Yellow rope in a plate. In another plate, keep turmeric, kumkum, sandal powder or tablet, one mirror, bangles, one lemon, your gold jewelries, one new blouse bit, a new dress ( saree or any girls dress) if you have in hand, Katholai karugamani( small black bangles, available in pooja stores). In a bowl/Sombu, fill water till its brim ( Its considered as Kaveri water) & keep it. In a small bowl, mix raw rice and jaggery. This is for neivedyam. Light lamps and do the pooja by showing Dhoop, dheep and mangala harathi. After doing the pooja, tie the yellow rope around your neck by yourself. Tie the rope in hands for small girls at home. Take the manjal pillayar, mix with some water, put the katholai karugamani, lemon, flowers and pour everything in a plant pot or tree. After sometime, take the lemon after sometime & use it in your cooking.
In the afternoon, in an auspicious time, do the pooja with 5 rice varieties and pepper vada/Milagu vadai. I make chana sundal too.
Every year I prepare Lemon rice, tamarind rice, Coconut rice, sweet pongal & curd rice. Sometimes we make payasam with jaggery instead of sweet pongal and make Ellu sadam or milagu jeeraga sadham to make a count of 5. My mom used to say we have to make 18 rice dishes for aadi 18 ;) I don’t know how far it is true & is it possible to make 18 rice varieties?
![Winking]()
.
I have shared the links of all variety rice recipes , sweet pongal & payasam recipes & vadai ( two versions) below. Please check it.
NEIVEDYAM RECIPESOR
Try these recipes and have a great Aadi 18 celebration !!
Technorati Tags:
aadi perukku festival,
aadi pathinettam perukku,
aadi perukku date,
adiperukku,
significance of aadi 18,
aadi 18 festival,
what to do for aadi perukku,
significance of aadi perukku,
happy aadi 18,
aadi perukku 2016,
aadi perukku rituals,
aadi perukku prayers at home,
aadi perukku prasadam,
aadi 18 how to celebrate,
aadi perukku pooja aadi 18 pooja
 . Working women and bachelors can try this for making quick breakfast or dinner and enjoy it with a hot chai. You will find it tummy filling and healthy too !Lets see how to prepare Gujarati Batata poha/ Aloo Poha recipe with step by step photos !
 How to make aloo poha - Gujarati Batata poha without onion and garlic for quick breakfast !


 . Its a very easy, quick, one pot meal ideal for breakfast and lunch box. Try this once
 . Ok, lets see how to make this easy, one pot Muslim style Khichdi recipe for breakfast/ lunch!


 . This weekend, I have planned to make a post on “Cooking tips for working women”. Before that, I wanted to blog few recipes related to that post.
 . We usually like to have it sugar or coconut chutney as side dish and sometimes with leftover lunch sambar too. You can follow the same recipe and make this mix with Wheat rava, Poha and vermicelli. This rava upma mix can be used to make Rava idli , mixed vegetable rava khichdi and Rava dosa as well. I have given the recipes for the same below. Check it out. Lets see how to make this easy, readymade upma mix at home.


 . She started laughing and told its meaning, importance of this dish and the method of making this rich dessert recipe
 . Lets see how to make Ramadan special Sheer Khurma recipe without condensed milk.


 . Making Puttu and Kadala curry is not so difficult and tricky as I thought. Anyone can make it easily if you follow the steps with care and patience. You can try this puttu without a puttu maker and by using homemade puttu flour too. I have shared those points in Notes section. Friends, do try this Kerala special breakfast dish – Puttu, Kadala curry at home and enjoy with your family. You can serve it with Kadala curry, Papadam Or just mix it with some sugar, ghee and banana. It tastes great !!


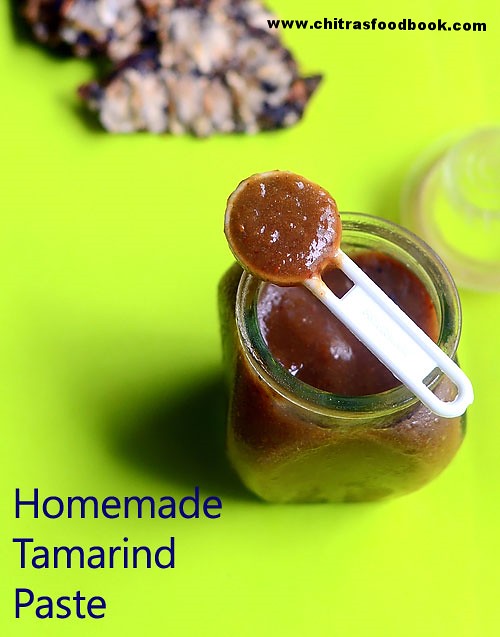
 . Recently when I was talking with my friend Shalini, she told about her homemade tamarind paste. She said its handy for quick cooking and the wastage of tamarind would be very much reduced. She told me to try it once to believe
 .Last week I made tamarind paste just for 1 week usage and stored in refrigerator.As she told, its really useful and I am impressed with this. It saves more time especially while cooking during busy morning hours. I am sure it would be a big help for working women. You can make it in bulk quantity and preserve for months by keeping in refrigerator. It would be much better than store bought tamarind pulp. Lets see how to make tamarind paste at home and store it.
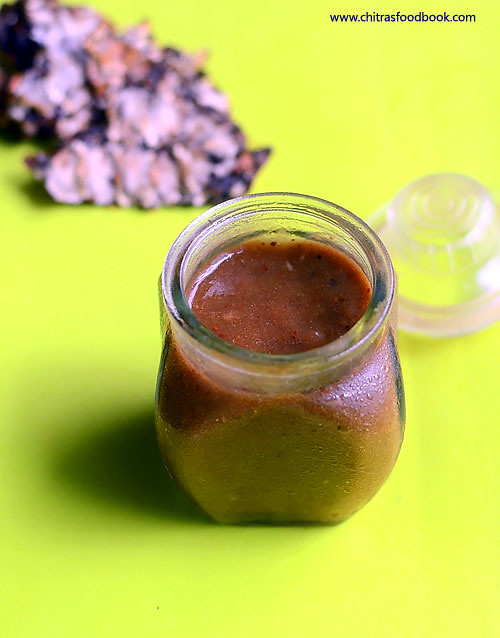


 . A South Indian food lover, especially a big Idli, dosa fan like me would enjoy this breakfast menu like anything


 and feel like running to a nearby dosa stall


 . As I expected, it was a very big hit with Sendhil and Raksha


