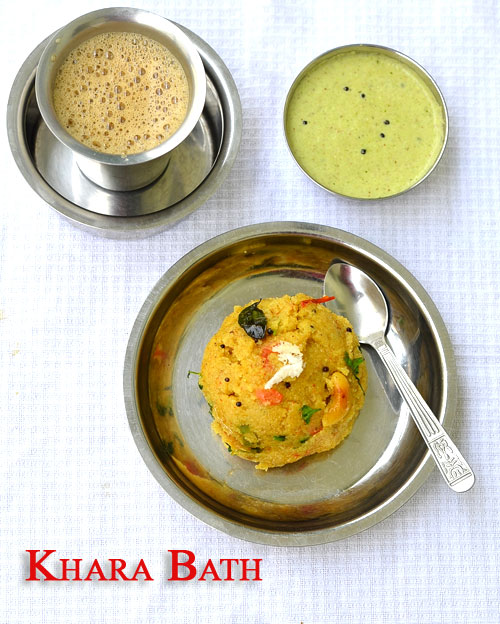
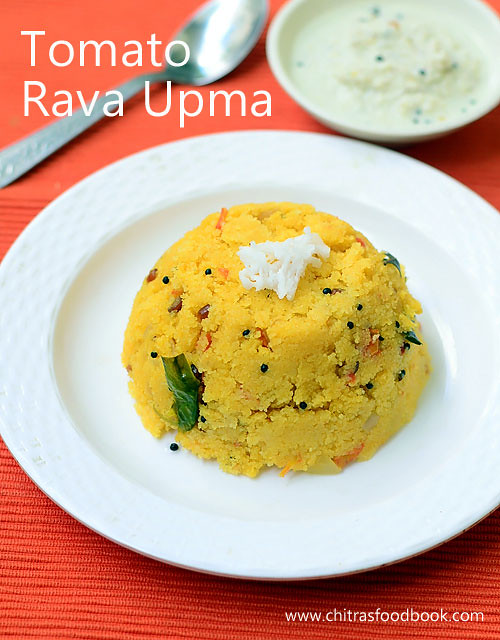
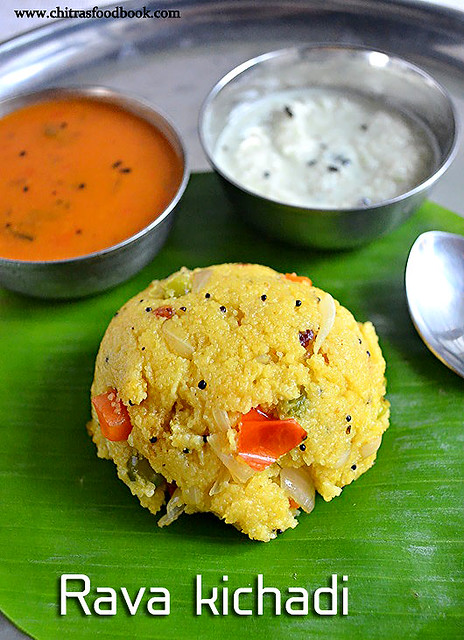
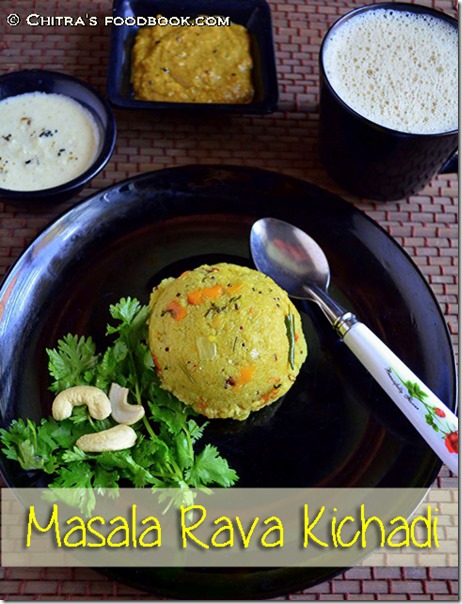
Here is my second version of Karnataka style tomato bath recipe. Few weeks ago, I shared a Karnataka style tomato bath recipe which tastes like hotel ones in Bangalore. This version is a bit different in masala part. This tomato bath tastes like the one served in temple festivals as prasad (Served in Jaatre ) and weddings. You can call this as home style tomato bath recipe. Most of my Kannadiga friends make in this way a nd they call it as tomato palav. In fact I loved this version more than my previous one. You don’t need any side dish for this tomato rice. If you like, you can serve with onion raita. Its a great lunch box recipe because its taste and flavor improves over the time. I am sure your family would love it. As usual I made this tomato rice directly in a pressure cooker to ease my job. So it took less than 20 minutes to prepare. You can add some green peas to make it more colorful and healthy. Friends, do try this Karnataka style tomato bath recipe / tomato palav and share your feedback with me.
Image may be NSFW.
Clik here to view.
INGREDIENTS
Friends, do try this easy version of Karnataka style tomato bath recipe and enjoy !

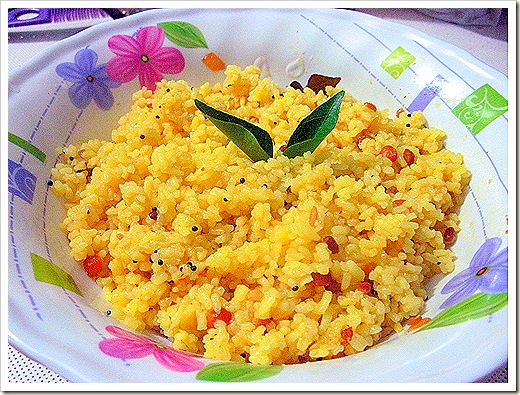
Karnataka style tomato bath recipe
Image may be NSFW.
Clik here to view.

Karnataka style tomato bath recipe in a pressure cooker
Cuisine:Karnataka
Category:Main course
Serves:Serves 4
Prep time:10 Minutes
Cook time:20 Minutes
Total time:30 Minutes
INGREDIENTS
1 cup = 240ml
|
TOMATO BATH RECIPE
- Wash and soak raw rice in water for 10 minutes. Wash and finely chop onion, tomato.
- Grind the ingredients given under “ to grind masala” to a coarse paste without adding water.
- Heat oil in a pressure cooker. Saute the whole garam masala, onion.
- Add ground masala and saute till nice aroma emits. Add finely chopped tomato.
- Add mint + coriander leaves and saute quickly. Add the spice powders, salt and mix well.
- Lastly add the soaked rice along with water and pressure cook in low flame for one whistle.
- Open the cooker after the steam is released. Fluff the rice gently and serve hot. Enjoy !
METHOD - STEP BY STEP PICTURES
Clik here to view.  Clik here to view.  Clik here to view.  Clik here to view.  |

Note
|
Friends, do try this easy version of Karnataka style tomato bath recipe and enjoy !