
In this New year,with all your support and blessings,i have planned to start biryani series from this week.I guess most of u make ( Both vegetarians & Non-vegetarians) make biryani in weekend especially on Sunday.Even i too make biryani mostly on Sundays,make myself free and enjoy my time with my family.To me,Biryani is an easy to make yet very rich & delicious one pot meal that make everyone drool over its smell & color.I keep trying varieties of biryani recipes by watching TV shows,by referring blogs or cookbooks.I thought of blogging the same here as it might be useful to people who look for varieties of biriyani recipes.So every Sunday,you can expect some yummy biryani & pulao recipes in my blog.Actually i wanted to start this series with “How to cook Basmati rice” post.But i still have some work pending to bring that post here.As i am in Salem,i couldn’t do it.So i thought of starting this series with this popular biryani recipe in which i used jeera rice.Generally vegetarians have less options for biryani varieties.So i used to refer non-veg biryani recipe too & try it by replacing chicken or mutton with vegetables like mushroom,Gobi/cauliflower and soya chunks.You can find one such example
here.Even today,i have shared Dindigul thalapakatti biryani which is the most popular mutton biryani of Dindigul district.For this recipe,I referred so many sites and read readers comments to get some idea about its color,the rice used in it etc.Finally i landed upon
here& tried this biryani by making small changes in the actual recipe to achieve its brown color.I used mushroom & soya chunks/meal maker in place of mutton
![Tongue]()
.The taste was awesome.It came out super flavourful with minimum masala.Raksha & Sendhil loved it a lot.Raksha told me to make the same biryani next day too for her lunch box .So i made a minimum quantity for her using rice cooker.Now i can confidently try this biryani for my guests too.I served this biryani with simple onion raita as a side dish.I made
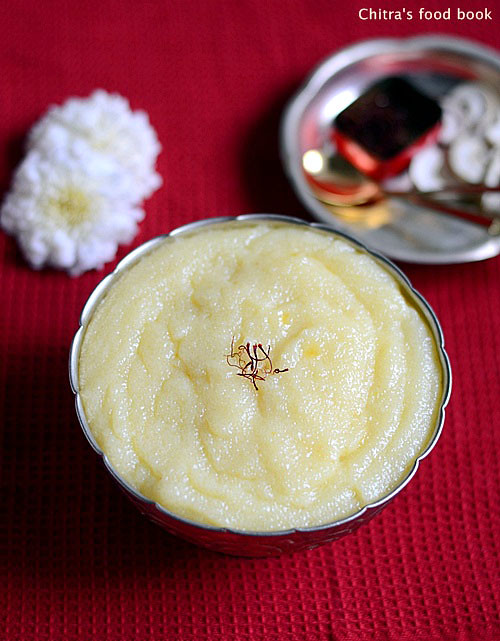
fruit custard for dessert & curd rice as well.So last week we had this biryani,raita,
fruit custard and curd rice for our lunch.It was simple yet divine !
i will try my level best to collect the best biryani recipes,try them in my kitchen and share it here.Wish me Good Luck
![Happy]()
.Leave your feedback or share the picture if u try any biryani recipes from this series.It will motivate me to try n post more.Check out my other biryani & pulao recipes that are popular in my blog
![Cool]()

Dindigul biryani
 Dindigul biryani veg version
 Cuisine:Indian
Category:Lunch
Serves:Serves 2
Prep time:10 Minutes
Cook time:20 Minutes
Total time:30 Minutes
INGREDIENTS
- Jeera rice/Jeeraga sambar rice - 1 cup
- Water - 2 cups ( use 2.25 cups for softer rice)
- Mushrooms– 8 nos
- Soya chunks – 10 nos
- Cooking oil – 2-3 tbsp
- Big onion - 1 no
- Tomato - 1 no ( small)
- Green chillies - 3-4 nos
- Biryani leaf - 1 no
- Ginger-Garlic paste - 1 tbsp
- Dhania powder/Coriander powder - 1/2 tsp
- Salt - as needed
For spice powder
|
METHOD
- Take the ingredients given under “For Spice powder” and grind them nicely to a fine powder.You can also use a mortar & pestle to do this job.But powder it well else u will get spices in mouth while eating.( Suppose if ur mixie doesn’t grind smaller quantities,just double the above ingredients,grind it and use half the powder for this recipe.Use the remaining in kurma or gravies.)

- Finely chop onion and tomato.Slit green chillies.Boil 2 cups of water and soak the soya chunks.Wash and clean the mushrooms.Set aside.

- Wash the jeera rice and set aside.I used Nawab brand.NO NEED TO SOAK IT.In a pressure cooker base,heat oil + ghee and saute the biryani leaf.Then add onions,green chillies.Saute till onion turns transparent.Then add ginger-garlic paste.Toss well till raw smell emanates completely.Keep the flame medium.Now add finely chopped tomato and saute till it becomes mushy.Add salt to quicken the process.Now add coriander powder & ground spice powder.Roast it well till u get a nice smell.Keep the flame low as it may burn.Now add water and washed rice.
 
- Check for salt & spiciness.Close the cooker and pressure cook in very low flame for one whistle.It takes nearly 8-10 minutes.After the steam is released,open the lid and fluff the rice with fork.Serve hot with raita ! Enjoy !
 |
Note
- I did not soak the rice.So i used 2 cups of water.If u soak the rice for 30 minutes,use 1.5 cups of water and add few tbsp of more water if necessary.
- The spice powder is very important.Do not skip it.
- You can make this biryani with either soya chunks or mushroom.U can also use other vegetables but the flavor n taste of this biryani may change as carrots give sweet taste to the rice.
- You can also add finely chopped coriander & mint leaves at the end before closing the cooker.But i din’t use it.
|
Do check out my other biryani & pulao recipes that are popular in my blog
![Cool]()
Enjoy this biryani with onion raita and have a happy meal with your family
![Smile]()
.Have a nice weekend !!


 Vazhakkai poriyal/Raw banana curry recipe using freshly ground spices - Tastes the best with More kuzhambu and rasam !


 .Raksha was very much excited to see a batch of cookies with royal icing and she herself started decorating them enthusiastically
 .Though i am not happy with the decoration i did,i was satisfied with the cookies.I hope i can make perfect icing in my next attempt.After baking these cookies,i am much more confident to try some more Christmas special cookies like snowball cookies,tutti frutti cookies and sugar cookies.I will try to share them in upcoming weeks.Friends, do try this cookie recipe even if you are a beginner or first timer.I am sure u will get it perfect.I got these cookie cutter from
  .Check out my


 .Last year i shared my dad’s


 .
.


 .
.


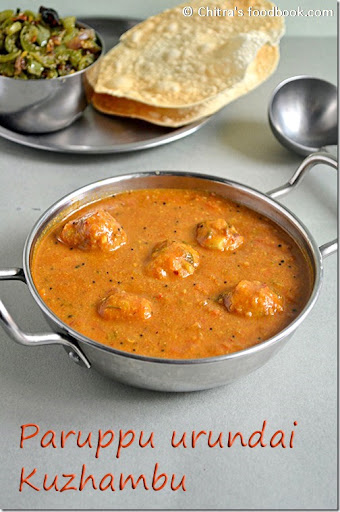
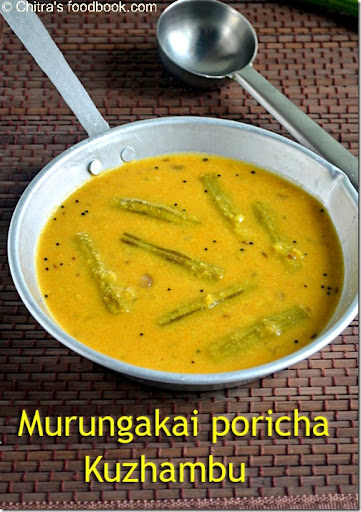
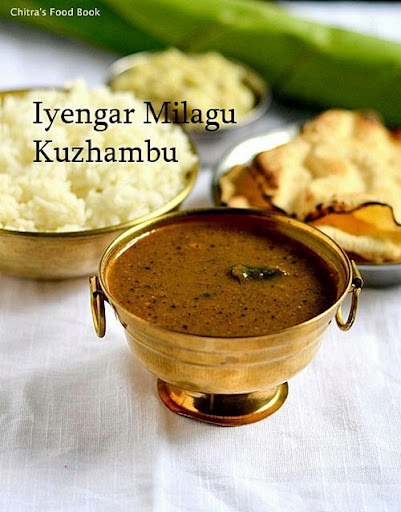
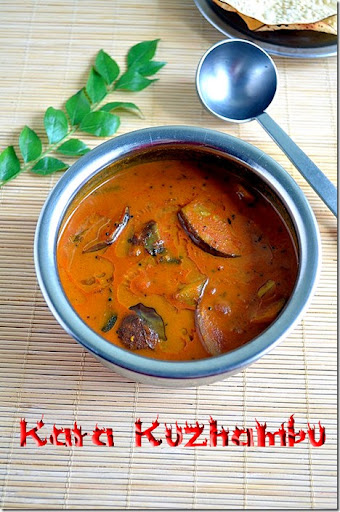
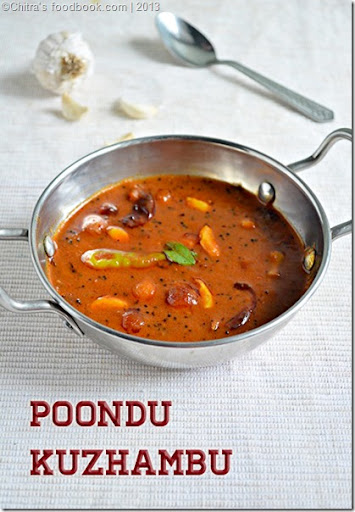
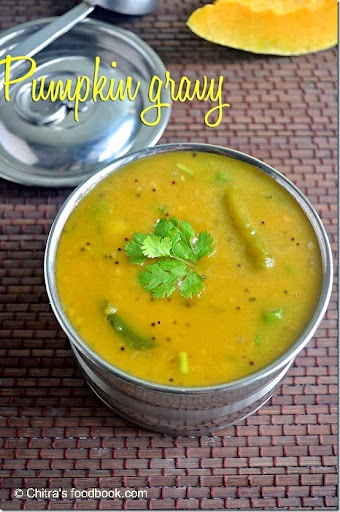
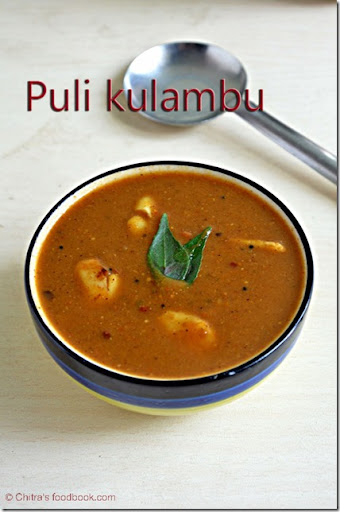
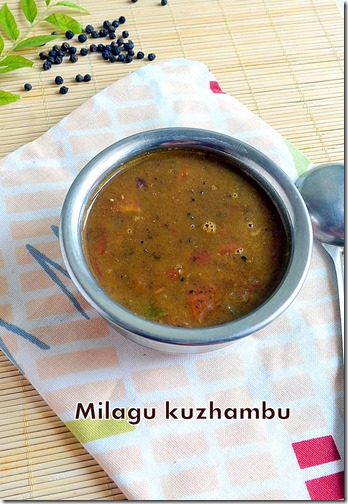
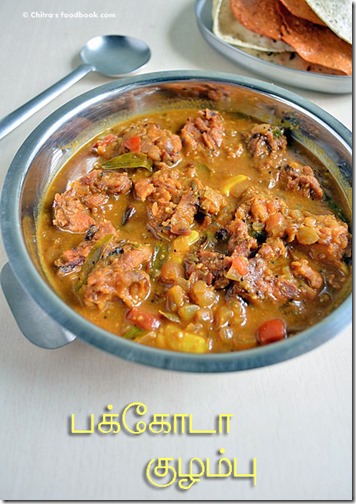
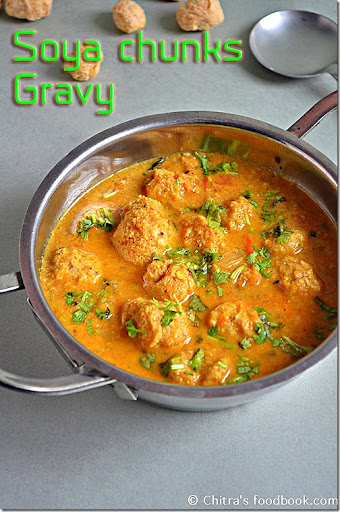
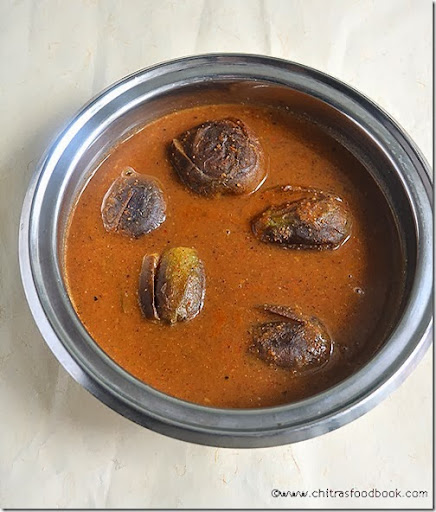
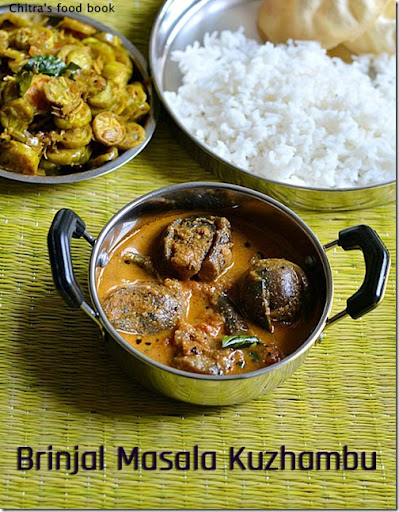
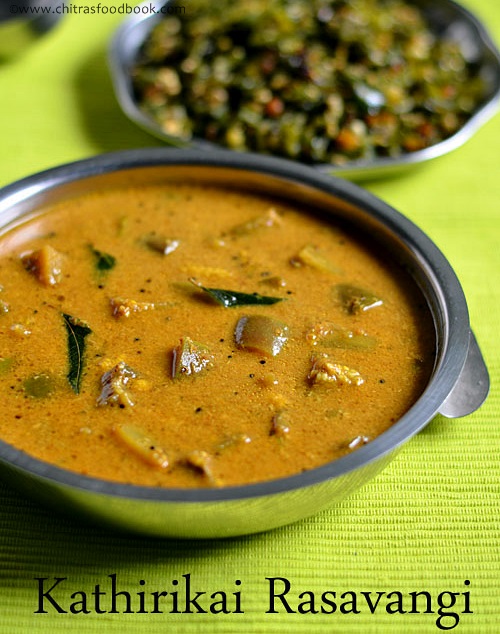
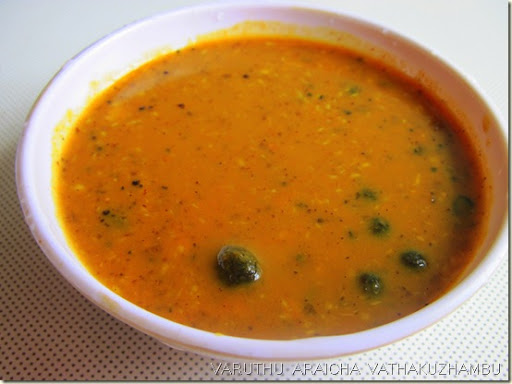
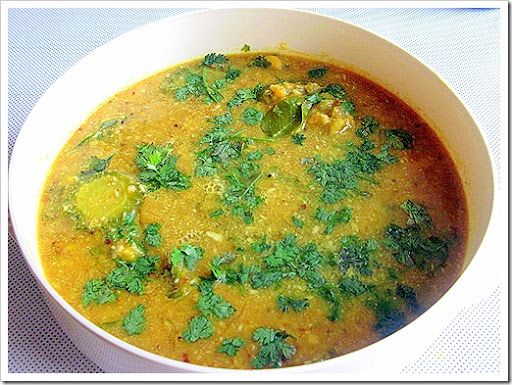
 .Ok,lets see the collection of South Indian kuzhambu recipes !


 .Better late than never,here is this easy microwave plum cake/ dry fruit cake recipe for you all.Try this cake for your kids as evening snacks or for this New year 2015 and have a great celebration
  .I tried this recipe from “The Hindu” Christmas special recipes edition.I made some changes in the actual recipe to make it more soft n flavourful.It came out really spongy and crumbly as well.I tried this cake twice with and without cocoa powder too.Both came out well but i liked the one without cocoa powder.Its a very easy n awesome cake recipe that can be made in 3 minutes using a microwave.It can also be done in pressure cooker i guess.Please check this link for my cooker cake recipe to get some idea.Also check out my Christmas fruit cake recipe using convection mode if interested ! Lets see how to make this easy,yummy,eggless,no butter,no condensed milk microwave fruit cake recipe in 3 minutes at home easily !


 .The taste was awesome.It came out super flavourful with minimum masala.Raksha & Sendhil loved it a lot.Raksha told me to make the same biryani next day too for her lunch box .So i made a minimum quantity for her using rice cooker.Now i can confidently try this biryani for my guests too.I served this biryani with simple onion raita as a side dish.I made fruit custard for dessert & curd rice as well.So last week we had this biryani,raita,


 .Have a nice weekend !!

 I know many of your answers would be YES


 .Not just me,making a soft chapathi would be the dream for many beginners in cooking.When i was a beginner,i used to make chapatis hard,chewy and sometimes like roasted papad too
 .As we were newly married,Sendhil couldn’t scold me instead he used to make fun of my chapathi


